Tuesday, March 1, 2011

Glitz, Glamor, and Deep Fried Mozzarella


Yum. Yum. Yum. So that table is loaded with some of the best food I have ever cooked. And, I had the help of 3 fabulous sous chefs, who did a bulk of the work themselves! The Oscars are a big deal in this apartment. I spent every year when I was little watching them with my mom and sisters, always eating some sort of baked goodie (be it brownies or cookies!). And my dear roomate was a film major in college, and works in the industry, so it was a big deal for us.

As soon as we had decided we were going to host a party, I started scouring the web for new and interesting ideas for little appetizers. Since the show was on a Sunday, it made it easy to pick things that would take a little time to assemble/cook, because I don't work on the weekends (seeing as this is a recent perk in my life, I'm still pretty excited about it)! In the end, I decided to make black olive bruschetta, pizza with bacon, onions and cream, buckeyes, and... DEEP FRIED MOZZARELLA. That's right kids. I deep fried. In the Itty Bitty Kitchen. But we'll get to that.

I made a lot of the different components, but Hilary, Elisabeth and Hannah each assembled their own aspect of this night, so I'm going to credit them where they deserve it!

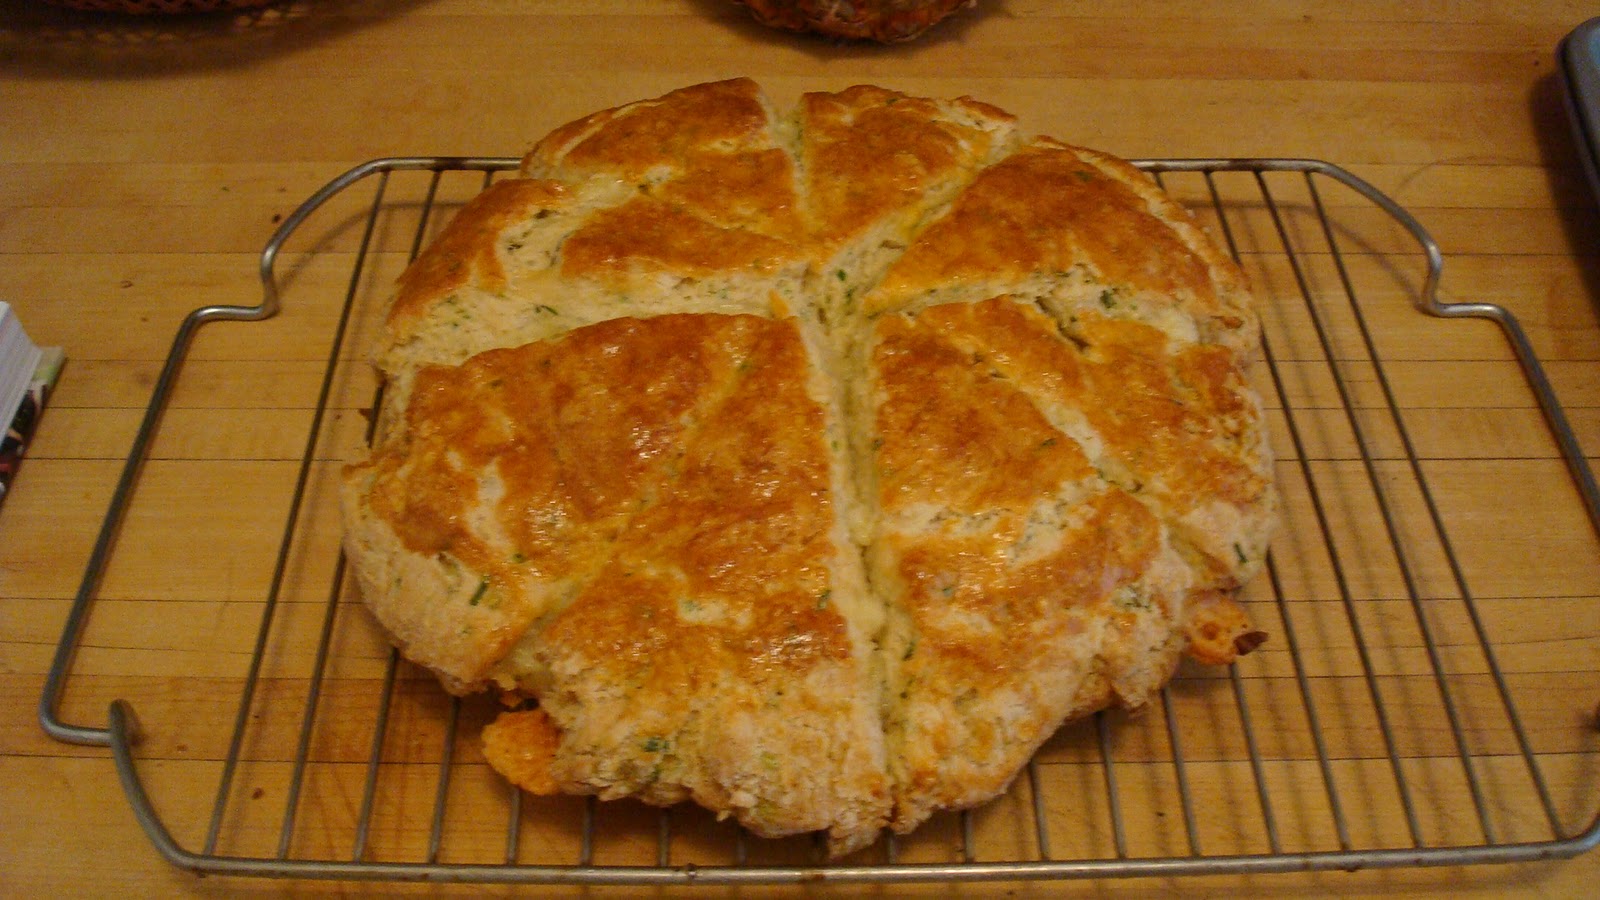
1. Black Olive Bruschetta
(Recipe from The Curvy Carrot)

Hilary (my roomate) made the bulk of this, so I'm going to keep my description short and sweet.

Ingredients:
For the topping:
1/2 cup pitted kalamata olives
1 garlic clove, chopped nice and small
2 tablespoons olive oil
1 small shallot, shallot
Juice from one lemon (I used a big Meyer, and it was a bit tangy, but I happen to LOVE lemon)
1 1/2 cups ricotta cheese
Salt and pepper

For the bread:
1 loaf thick country bread, sliced into quarter-size pieces
1 medium garlic clove
Olive oil (to drizzle)

Method:
Broil each side of the bread for about 2 to 3 minutes. Remove from oven, rub with garlic and drizzle with olive oil.

Process olives, garlic, shallot, and lemon juice. The original recipe recommended using a Cuisinart, but since I don't have one, I used my immersion blender. It was a bit messy, but it worked pretty well!
In a separate bowl, combine the ricotta, salt and pepper.
Spread the ricotta on the toast, cover with olive pesto....and eat!

2. Pizza with bacon, cream and onions
(Recipe sourced from Smitten Kitchen)
Credit here must go to Elisabeth. She rolled out allllll the pizza dough, and put on the fabulous toppings.


Ingredients:
1/2 pound of pizza dough (I used frozen that I bought at Fairway, and after it had defrosted, it was perfect)
1/2 cup ricotta cheese
1/2 cup sour cream
1 tablespoon flour
Salt and pepper
1/2 pound bacon, thickly sliced into 1/4 inch crosswise strips
1 medium onion, thinly sliced

Method:
Preheat the oven to 450 degrees Fahrenheit. In a medium skillet/saucepan, cook the bacon over medium heat until the fat is rendered, and the bacon gets all crispy and delicious. Remove the bacon with a slotted spoon, but leave the heat on, and add the onions. Cook the onions until they are almost caramelized, about 7 to 10 minutes depending on the strength of the heat.

Whisk together the ricotta, flour, salt and pepper and sour cream.

Divide dough into 4 pieces, and roll out as much as possible into 8-inch rounds. Elisabeth found that the dough didn't get as thin as the original recipe required, but we thought it was absolutely perfect a little thin.

Cook the pizza in 2 batches. Put two of the rounds on a baking sheet, and spread each with the sour cream/ricotta mixture. Sprinkle with bacon and onion. Bake for about 12 minutes, or until the crust is golden brown.

You could serve each one as a personal pizza for a 4-person dinner, but we cut them into little wedges and squares and served as appetizers! Delish.

And the piece de resistance:
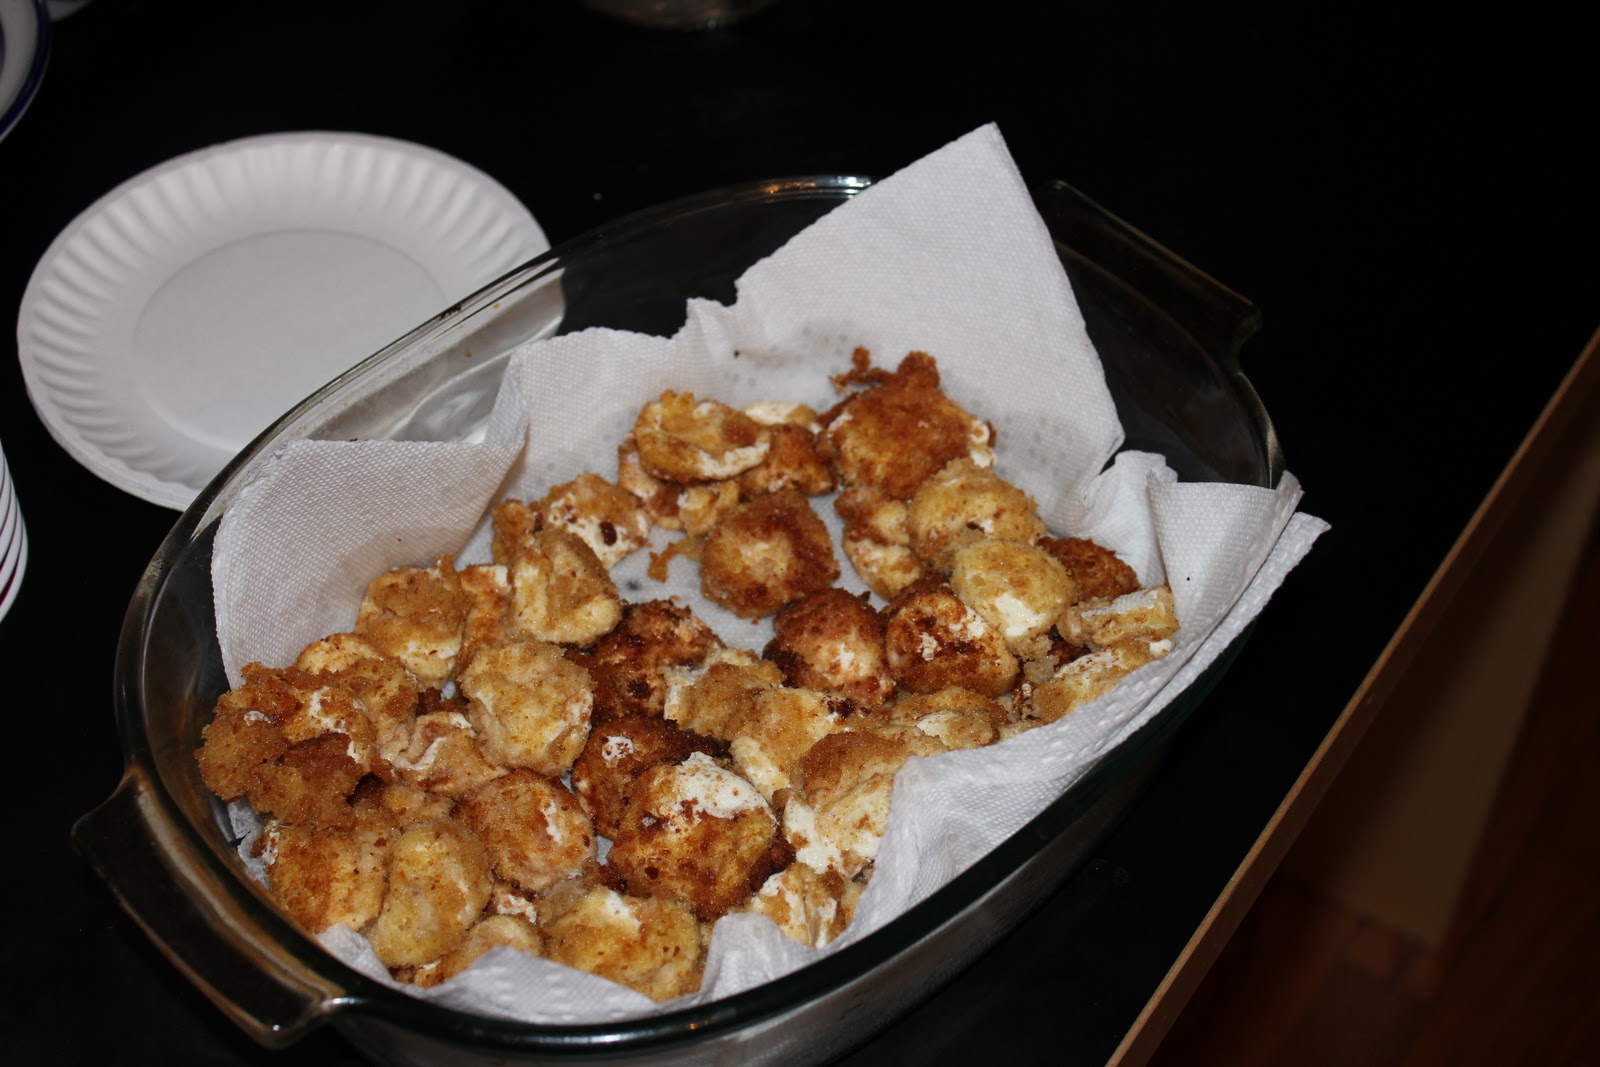
3. Deep Fried Mozzarella Bocconini
( Recipe from The Curvy Carrot)

Oh my god you guys, I DEEP FRIED! I still literally cannot get over this....you should have seen me while it was happening. I was actually hopping up and down in front of the stove, and yelling to everyone who walked into the apartment "I'm deep frying! I'm deep frying!" And I think the best part of it was that it was so super easy.
One note I'd add is that I didn't really use a great sauce recipe...I just did the quick and easy. One of these days, I'll teach you how to make a truly spectacular sauce, with fresh ingredients.

Ingredients:
For the cheese:
3-4 cups of peanut oil (depending on how deep the frying pan is)
2 pounds mozzarella bocconini (about 50 pieces)
4 eggs
1/2 cup of milk
4 cups bread crumbs

For the sauce:
28 ounces crushed tomatoes
2 garlic cloves
As many red pepper flakes as you'd like (I wanted spicy sauce, so I just kept adding until I thought it tasted right)
1/2 cup olive oil

Method:
Roast the garlic in the olive oil for about 30 seconds over medium high heat- don't brown it. Add the crushed tomatoes (juice preserved) and red pepper and simmer for about 10 minutes, until the sauce is thickened. Then set aside.

Drain the cheese from its liquid and place on a baking sheet lined with paper towels. Pat dry. Mix the eggs and milk in a medium shallow bowl. Put the breadcrumbs in a matching bowl. The shallower the bowl, the easier the breading process will be.

Roll the cheese in the egg/milk batter, and then the bread crumbs, shaking off the excess after each step. A word of warning, this was a pretty messy step. I used my fingers and the bread crumbs kept sticking to me. I'm totally fine with making a mess, and then cleaning it up, but I'm just letting you all know! Repeat the breading process for each piece of cheese.

Pour the peanut oil to a depth of 4 inches in a medium saucepan and heat. If you have a frying thermometer, you can heat it to 350 degrees Fahrenheit, but I don't, so I literally just let it heat for a minute or two (guessing will get you everywhere as long as you're careful!).

Drop the breaded mozzarella into the oil in batches.

                               (Me totally freaking about about deep frying)

Each batch should take about 45 seconds- any longer and you risk the cheese melting, or the breadcrumbs soaking up too much oil. Remove with a slotted spoon and place on a plate covered with paper towels.

                               (Uncooked on the right, cooked on the left)

They are best served warm, because otherwise the cheese congeals a bit and is kind of disgusting...so if you're not going to eat them immediately after cooking, put them on a baking sheet and keep them warm in the oven.

Then, SERIOUSLY, dig in! The one thing I'm really kicking myself for is not taking any pictures of the buckeyes, so I'm going to have to make another batch (and soon, because they were delicious), and I'll give them a post of their own when I do!

Friday, February 25, 2011

Breakfast in the Itty Bitty Kitchen

Good Morning!

I designed this marvelous post to show you how easy it is to bake for breakfast (without having to get up at the crack of dawn!). The entire preparation was done last night, and this morning I woke up at my usual time (7 AM), to get ready for work, and popped the scones in the oven just before hopping in the shower. Half an hour later, I was dressed and ready to go, and so were my scones!


Apple Cheddar Scones
By now, you may have caught on to the fact that I am obsessed with cheese. I also happen to love love love green apples. To me, there is nothing more refreshing, tart and exciting than the first bit of a really good granny smith, and it only gets better when paired with slices of super sharp Cheddar cheese. Since I've gotten in the habit of baking for my co-workers (and using them as guinea pigs), when I was brainstorming what to bring for them to try tomorrow, I thought "why not turn your favorite snack into a pastry?" Since I'm not quite confident enough in my baking ability to just haphazardly throw together scones, I sourced this recipe from a few different places, including one of my all time favorite blogs, Smitten Kitchen. Seriously guys, this woman is my culinary goddess. And she had a recipe for apple and Cheddar scones! It was like stumbling upon paradise. I mixed up her recipe a bit with one of the scone recipes from Flour (but not the one I used for Cheddar chive scones), and, well...here are the results!

Ingredients:
2 tart apples (Granny Smiths)
1 1/2 cups all purpose flour
1/4 cup sugar
1/2 teaspoon salt
1/2 tablespoon baking powder
6 tablespoons butter
3/4 cup sharp cheddar, shredded
1/4 cup heavy whipping cream
2 eggs

Method:
Preheat oven to 375 degrees Fahrenheit.
Peel and core apples, then cut into chunks. In hindsight, my chunks may have been a tiny bit small, so I would recommend making them about half an apple slice. Place in a single layer on a baking sheet lined with parchment paper and bake about 20 minutes....until they look like this:


Sift/whisk (I whisked because I have no sifter) the flour, sugar, baking power and salt together.
In a separate bowl blend the butter, apple, cheese, cream and 1 of the eggs.

Am I crazy to think that these raw ingredients look amazing? Maybe its just the combo of cheese and butter...I know its going to be good!

Sprinkle the flour over the  cream/egg/cheese/apples/butter, and mix until the dough just comes together. It will actually come together in a crumble, and then you will need to knead it over a few times as it comes together into a mass.
Then flatten the dough into a round disc, about 1 1/4 inch thick. This was the point at which I wrapped the disc in saran wrap and put it in the freezer.

This morning, I simply unwrapped the dough, plopped it on a parchment lined baking sheet, and brushed the disc with the other egg.


Then, I cut it into 6 wedges, and stuck it in the oven.

They took about 35 minutes to cook at 375 degrees, but they were frozen solid, so if you choose to bake them immediately, I would take them out at 30 minutes.


And then...eat breakfast!!

Thursday, February 24, 2011

A Tease

Hello darlings!

I promise that tomorrow morning I will have another delicious recipe for you...and you will understand why I'm keeping it from you now. But for tonight, i thought I would show you some pictures of the Itty Bitty Kitchen! I share this tiny space with my lovely roomate Hilary, and sometimes it can get a bit cramped, but that's all part of it's adorable charm. 

The view down the galley...the daffodils are a present from my dad, and I swear I'm trying my hardest not to kill them! Isn't it cute though?? The great benefit of the galley is that we have this lovely large window at the end, so there's always natural light (helps with the pictures).

The itty bitty counter where all the magic happens! I've found the easiest way to keep things from getting totally out of control and totally chaotic is to use a second cutting board and put all the messy utensils on it, and then wash everything up at the end.

I hope you've enjoyed this little glimpse into the Itty Bitty Kitchen...and stayed turned for a yumlicious breakfast treat tomorrow!

Wednesday, February 23, 2011

A Night on the Town

Dear readers, we're going on an adventure! Well, technically, I just went on an adventure, and couldn't wait to get home and share it with you. As some of you may know, NYC does a promotion called Restaurant Week, where many different and wonderful restaurants around the city offer prix fixe menus (for the same price wherever you go!). My oldest friend Hannah and my newest friend Elisabeth both happen to have the same fascination with food that I do, so about 2 weeks ago, we headed to "21 Club" for what turned out to be a totally marvelous culinary experience...although I must ask you to wait to hear about it until I'm ready to try and recreate it. Completely inspired by our evening out (and learning that Restaurant Week was extended!), we decided to try a little place in Alphabet City that none of us had every been to. Well. Yerba Buena blew. my. mind. We ordered from the special Restaurant Week menu, so I'm not quite sure what would be available on a regular night, but if tonight was any indication, please RUN to Yerba Buena next time you're in New York- it is very much worth the trek to Avenue A.

(Note: please excuse the poor quality of the pictures I am about to show you. I meant to bring my camera, but was a bit frazzled this morning, and forgot, so I had to make do with the camera on my blackberry.)

We began with cocktails (as any girl's night must).  

I ordered a Hemingway (because what literary lover can turn down a drink name after dear old Ernest?), which came garnished with a lime.

It was made of flor de cana 4 rum, maraschino liqueur, fresh lime juice and fresh grapefruit juice...and it was lethally delicious.

Elisabeth chose the Poquito Picante, our lovely waiter's recommendation.


Concocted of tanqueray gin, cilantro, cucumber, cointreau liqueur, fresh lemon juice and topped with an actual jalapeno pepper, it was a remarkable combination of spicy and oddly refreshing...must have been the cucumber!

I saved Hannah's for last, because the Desert Rose was just so darn pretty!

Rose infused plymouth gin, prickly pear puree and lemon juice...topped with an actual pansy. How sweet is that (pun intended!)?

While we were enjoying our beverages, the first course arrived! Luckily for us, the prix fixe menu offered 3 options each for appetizers and entrees, so we just ordered one of each, and dug in. The pictures I have of the appetizers really aren't worth showing you, but I will describe the food (and I hope you have a snack while reading...remembering this meal is making my mouth water!). The shrimp ceviche was a surprising blend of almost buttery flounder and peanuts, which at first was a shock, but quickly made sense as the different textures melded in my mouth. I never would have come up with it myself, but nutty peanut flavor added a different dimension to the cold fish...definitely going to have to try something like it in the Itty Bitty Kitchen! We also had 2 baby baja-style fish tacos, with chipotle salsa. I know some of you may not believe this, but they were actually my first fish tacos ever! Now I understand why people RAVE about them! The last (but certainly not the least) appetizer was braised short ribs on tiny little crusts with melted Chihuahua cheese....mmmm. It was the most upscale slider I've certainly ever had! The shredded ribs were so tender they barely required chewing!

One of the (many) upsides of Yerba Buena was the excellent service. Once we had cleaned a plate, it was immediately removed, and as soon as all 3 appetizers were finished, our main courses had arrived. And boy were they worth the wait! We quickly divvied up the delicious lechon, porgo and skirt steak...its a miracle I managed to get some pictures before they were all gone!

The lechon (below) a suckling pig with yucca puree, habanero mojo de ajo and chicharron. The yucca puree was a smooth and gentle contrast to the spicy chicharron and habanero mojo de ajo sauces, and all together made for a perfectly blended mouthful.


I unfortunately don't have a picture (or a description) of the porgo, but I do remember that it was a crispy, fried, flaky white fish in another picante sauce, that added a flavor that is so often missing from white fish.


Finally, there was the skirt steak (above). What does one really have to say about a perfectly cooked, just rare enough steak, with crispy yucca balls and avocado salad? No seriously. I'm at a loss for words here people!

And then, dessert. You who know me well may remember that dessert is not my favorite part of a meal. While I love creating new desserts for other people to enjoy, I'd much rather settle in with some sour patch kids (I know, I know, you're screaming at me right now!). I'm not going to go into raptures over the two desserts I tried tonight, but I will say that even I found them delightful, and Hannah and Elisabeth seemed to really relish them! Since there were only two options, we ordered two of the pestilito de chocolate (Mexican banana chocolate brownie with mint chip ice cream), and one flan de coco (coconut custard, orange-mint salad with a pineapple sauce). I valiantly tried both, and while I liked the pestilito de chocolate better, it just didn't quite measure up to a homemade batch of brownies, eaten at the kitchen table with a glass of milk.

However, both desserts were the perfect cap to the evening. As our little group walked into the F train subway stop on 2nd Avenue, a trombonist across the tracks was playing something smooth and haunting and beautiful, and I couldn't have been happier than I was after sharing a delicious meal with delightful friends.

Monday, February 21, 2011

A Snowy Day in NYC (Or, Starting with the Best)

Today started out as a beautiful, snowy gorgeous day. Of course, I was in the suburbs, where snow stays white for a few days, and slush isn't an immediate issue....but I digress. I came back to the Itty Bitty Kitchen this morning, and had a desperate hankering for some real comfort food: chicken noodle soup. CSN speaks to all that is good and delicious about food- fresh vegetables, chicken, egg noodles and whatever spices you care to throw in. In fact, this entire soup is about whatever you care to throw in. The benefit of it is that you can almost always whip up some CSN, as long as you happen to keep an entire chicken in your freezer (which I do, given my love for this soup!). This really is the original stone soup...just keep adding your favorite flavors and ingredients, and see what happens. I have to say, I'm a little nervous to give you this recipe right off the bat, for fear that everything else I post about will simply not measure up!

In addition to the soup, I wanted something yummy and savory to have as a tea time snack. You will soon learn that I am addicted to tea time...there's something so wonderfully civilized about sitting down with a cup of tea and a friend, or a good book, and just enjoying yourself. So I leafed through a couple of recipe books, before I stumbled upon a recipe for cheddar scallion scones, in Flour, by Joanne Chang. And while I totally and completely bow down before her culinary skills, I wanted something just a tad bit different. So, I substituted chives for the scallions, and kicked up the amount of cheddar (I also love cheese)!

The results are below...let me know what you think!

Chicken Noodle Soup
Ingredients:


1 roasting chicken (mine are usually around 3 1/2 pounds- a little bigger is totally fine, but smaller may lead to less flavor)
5 carrots, roughly chopped (I used baby carrots today because that's what I had in the fridge- if you do too, I recommend around 15 to 20).
5 stalks of celery, chopped
1.5 chicken bouillon cubes
2 leeks
2 large white or yellow onions, chopped
1 shallot, diced
5 cloves of garlic, smashed and chopped finely
1 bag of egg noodles
Kosher salt
Pepper
Method:
Put the chicken in a big pot and cover with water. Add the bouillon cube, one of the onions, half the carrots, half the celery, half the leeks, the shallot and the garlic. Season with salt and pepper.


Bring to a boil, then simmer on medium/low heat covered for about 45 minutes. Check the chicken to make sure its mostly cooked (if its a tiny bit pink that's totally fine).
Take the chicken out, and put it on a cutting board to cool for a few minutes.
Carve the chicken-discard the skin and bones, but get as much meat as you can off the bird. Every time I make this soup, I start with the intention of using a knife and carefully cutting up the chicken, but usually end up ripping it off with my fingers. Cut the chicken into chunks.
Bring the broth to a boil again.
Add the egg noodles. This is a totally discretionary step- while I love my egg noodles, if you are going low-carb, or low whatever, just leave 'em out. The soup is still yummy! One bag of egg noodles is pretty much always a pound, and I tend to use about a quarter to a third of the bag. 
When the noodles are almost done add the rest of the vegetables.
When the veggies are soft, add the chicken, make sure it gets warm (if it was still a little pink when you carved it up, make sure it cooks in the broth). Enjoy!
Whenever I make this soup, it tends to yield waaaay more than I can eat myself, so its a great thing to cook if some girlfriends are coming over for the night. I often end up freezing it in single serve tupperwares and bringing it to work with me for lunch! It lasts about a month frozen- any longer than that and you risk losing some flavor.

Now, onto the scones! I pulled some of this recipe from the talented Joanne Chang, but changed a few key ingredients to fit my tastes. I've found that cooking is really about finding something that works for you, even if its not a perfect replica of a recipe.

Cheddar Chive Scones
Ingredients:
1 3/4 cups of flour
1/2 cup medium grind white (or yellow) cornmeal
1 1/2 teaspoons baking powder
1/2 teaspoon baking soda
1 teaspoon kosher salt
3.5 ounces Cheddar cheese, cut into little cubes (about 1/2-3/4 cup)
Handful of chives, diced
1/2 cup (1 stick) cold unsalted butter, cut into 8 to 10 pieces
1/2 cup cold buttermilk
1/4 cup cold milk
1 cold egg
1 egg yolk, lightly beaten


Method:
Preheat the oven to 350 degrees F.

Using a handheld mixer, beat together the flour, cornmeal, baking powder, baking soda, salt, cheese and chives on low speed for about 15 seconds. Add the butter, and blend until it is somewhat broken down (don't worry if chunks of it remain), about 30 seconds.

In a small bowl, whisk together the buttermilk, whole egg, and milk until reallllllly blended. On low speed, add the buttermilk mixture to the flour-butter mixture and beat for around 30 seconds, or until the dough just comes together. There will be loose flour mixture at the bottom of the bowl, don't be alarmed! Gather and lift the dough with your hands and knead it over a few times, picking up the loose mixture from the bottom, until it is all mixed in.

Dump the dough onto a baking sheet and pat/pull it into a circle about 1 inch thick. Brush the top of the circle evenly with the egg yolk- I don't yet have a brush, so I used my fingers (kinda gross, I know, but it was better than nothing!). Cut the circle into 8 wedges.


Bake for 30 to 40 minutes, or until the entire circle is golden brown. Transfer to a wire rack and let cool for 30 minutes (I only waited 20 because I'm impatient and wanted my tea!). 


Cut into the prescored wedges and serve!


Delicious!

Sunday, February 20, 2011

Here We Go!

So, after dealing with much pestering from a dear friend, I finally took the plunge and created my own blog! Scary, no? But also, fabulous, exciting, potentially delicious, and definitely an adventure. Let's all take a minute here and pray that what I hope will be a chronicle of yummy food does not become a chronicle of many trips to the emergency room...


A little background on me, your lovely host. I grew up in a small town outside New York City, where from a very young age, I decided I only would eat carbohydrates. I'm not even kidding about this, guys. For a good 5 years I subsisted on Goldfish crackers (cheddar only, with salt added), pasta (preferably without sauce, or the kind that comes in a blue box), green apples, and a creation of my own called a "ketchup sandwich," which was one piece of white bread with ketchup on it, folded in half. BUT, never fear, one day I woke up and realized exactly what I was missing when it came to culinary pursuits, and since then I haven't looked back. My favorite college memories involve traveling to my parent's beach house with a group of friends and cooking (well, watching this amazing girl) cook a delicious meal. So now that I'm out on my own in NYC, I've taken some time to polish old family recipes, try my hand at new ones that I create, and eat as much good food as I can get my hands on...and I'd love it if you joined me for this wild ride!


Welcome to my itty bitty kitchen!